
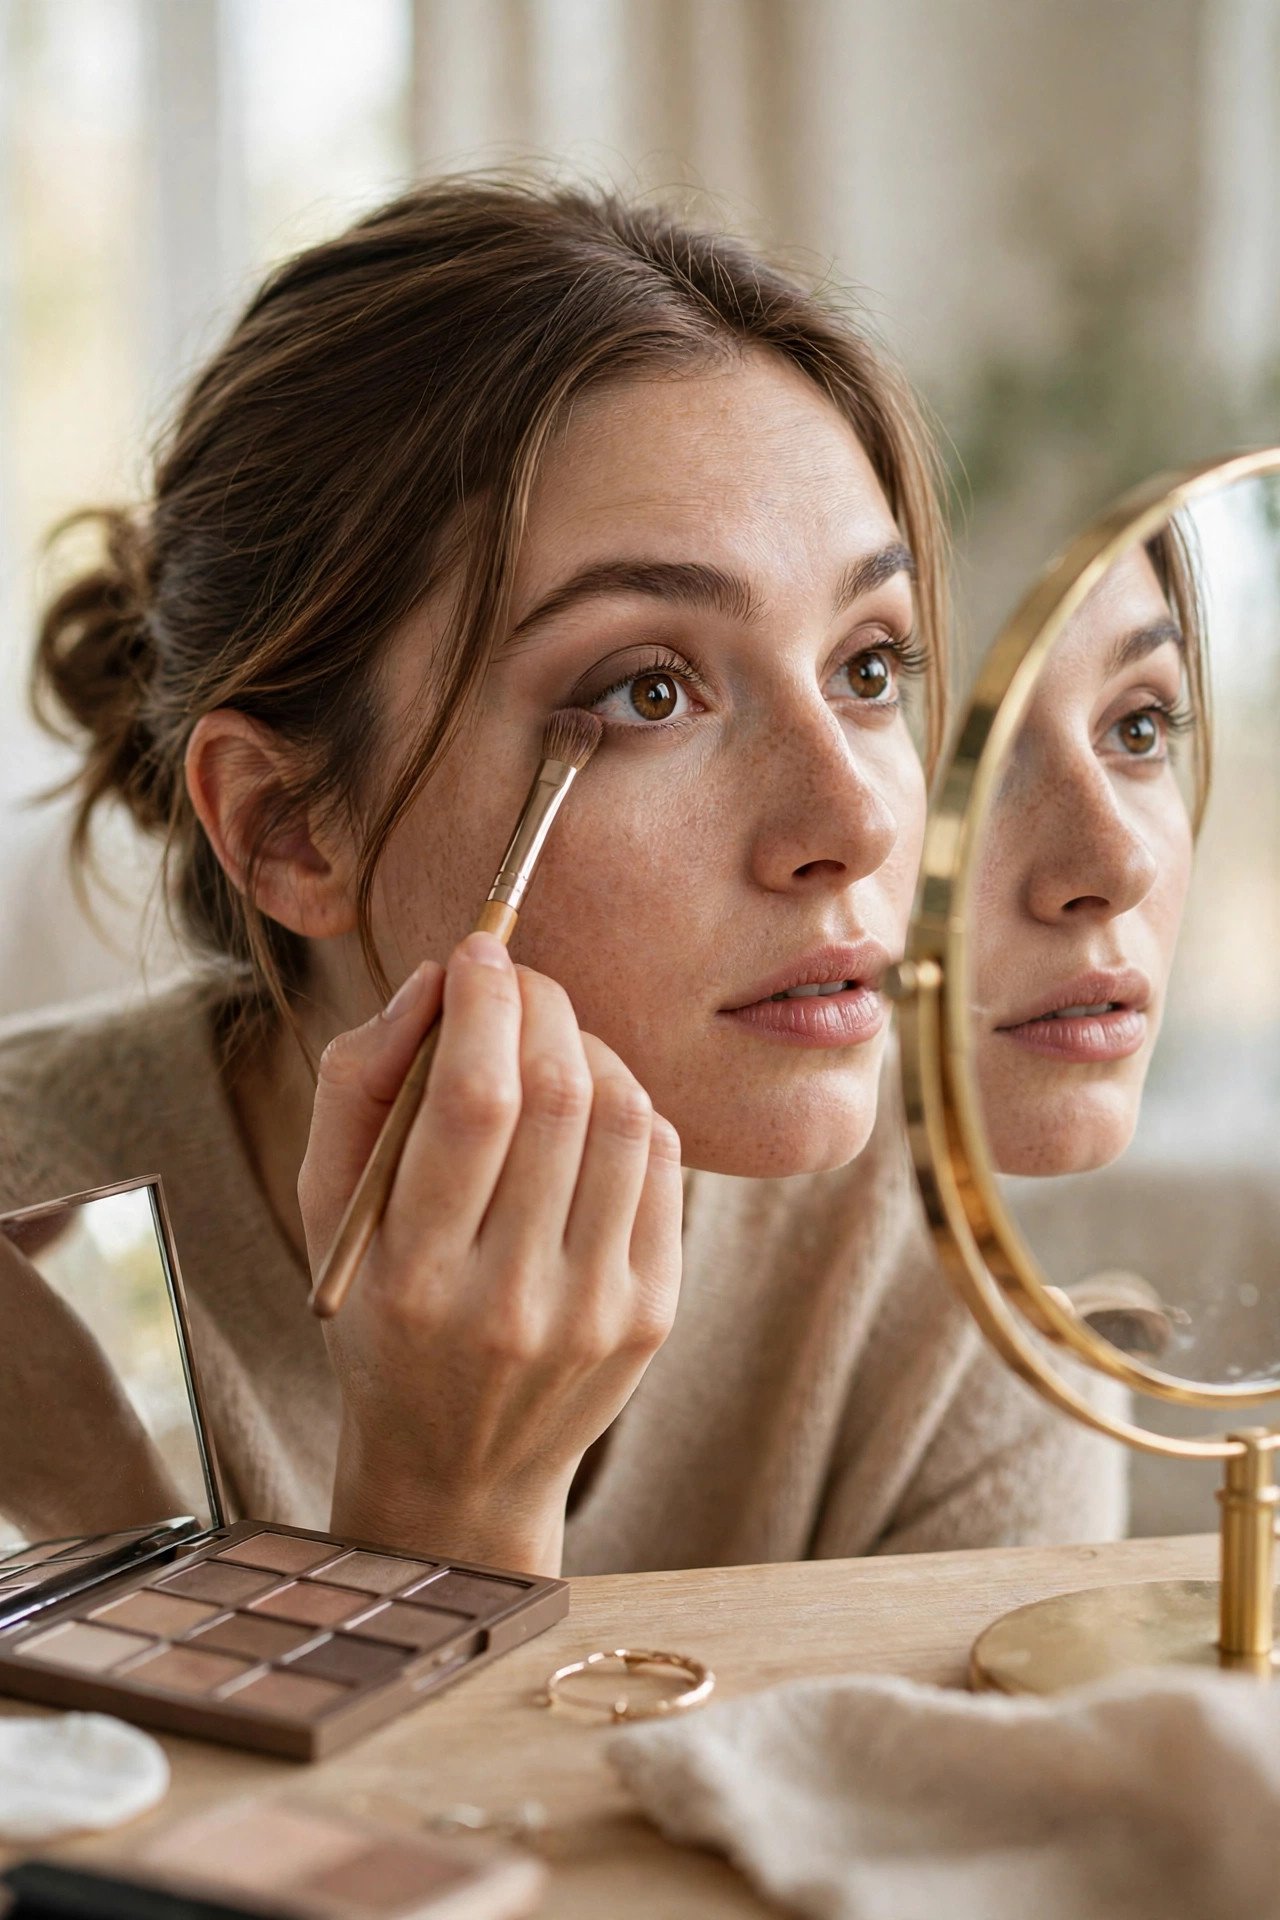
How to Apply Eyeshadow for Beginners
Quick answer: Start with a primed eyelid, then work in thin layers: a light base shade all over the lid, a slightly darker shade in the crease, colour on the lid, and blend until no hard edge remains. Three neutral shades and two brushes are enough for a first look. Blending matters more than the number of colours you own.
Eyeshadow looks harder than it is. A palette full of colours and photos of perfect eye looks can make a first attempt feel out of reach. The truth is simpler. A good look is built one thin layer at a time, and blending matters more than buying. Once you know the order of the steps, you can create a soft everyday look in a few minutes.
If you are new to makeup as a whole, our simple makeup routine guide shows the order to apply everything in, so eyeshadow sits in the right place in your routine. This guide stays with eyeshadow only: how to apply it step by step, how to blend it, how to work with hooded eyes, and which mistakes to avoid.
What You Need Before You Start
You need very little to apply eyeshadow well. A small palette of neutral shades, two brushes and a primer are enough. Our makeup brushes guide explains which brushes beginners actually need, including the blending brush and the shader brush used in this guide.
| Item | What It Does |
|---|---|
| Eyeshadow primer | Gives the colour something to grip and keeps it from creasing |
| A blending brush | Softens edges and blends shades together |
| A shader brush | Packs colour onto the eyelid |
| A neutral palette | Three or four shades: light, medium, dark and a highlight |
| A clean fingertip | Presses shimmer shades onto the lid when a brush is not enough |
Choose a palette with matte shades first. Matte shadows blend more easily and forgive mistakes, while shimmer shades show every uneven edge. A light cream shade, a warm brown, a deeper brown and a soft highlight cover every look in this guide. Save bright colours and glitter for later.
How to Apply Eyeshadow Step by Step
Work slowly and use less product than you think you need. You can always add more colour, but it is hard to take it away. Keep a clean blending brush nearby, and check your work in daylight if you can.
Step 1: Prime the Lid
Dot a small amount of eyeshadow primer across the eyelid and blend it with a fingertip. Primer evens out the colour of the lid, gives the shadow something to hold onto, and stops it creasing through the day. Wait a few seconds for it to set before you add colour.
Step 2: Set a Base Shade
Take a light, matte shade close to your skin tone and sweep it over the whole lid, from the lash line to the brow bone, with a fluffy brush. It evens out the lid and helps the next shades blend. Tap off excess powder first, so no colour falls onto your cheeks.
Step 3: Add the Transition Shade
Take a medium warm brown and place it in the crease, the fold above your eyelid. Use a fluffy blending brush and small windscreen wiper motions, back and forth across the crease. Build it slowly in two thin layers rather than one heavy layer, since that is what makes a look soft rather than stripey.
Step 4: Colour the Lid
Take your lid colour, usually a slightly deeper shade than the transition, and press it onto the centre of the eyelid with a flat shader brush. Press rather than sweep, which keeps the pigment where you put it. If you are using a shimmer shade, press it on with a fingertip instead, since the warmth of the skin helps the shimmer stick and look brighter.
Step 5: Deepen the Outer Corner
Take the darkest shade in your palette and place a small amount on the outer corner of the eye, in a soft V shape. Use a small brush and very little product. This step adds depth and makes the eyes look bigger, but beginners often go too dark here. Start with less than you think you need, blend, and only then add more.
Step 6: Blend Until the Edges Disappear
Take a clean blending brush and sweep it in small circles over every edge where two shades meet: the crease, the outer corner and the brow bone. The goal is a smooth gradient with no visible line between shades. Blending takes longer than applying, and it is what makes a look polished.
Step 7: Highlight the Inner Corner and Brow Bone
Take the lightest shade in your palette and touch it to the inner corner of the eye and just under the brow bone. Use a small brush and a light hand. A little highlight opens up the eyes and makes you look more awake, but too much looks stark in daylight.
Step 8: The Lower Lash Line
Take a small brush and sweep a little of the transition shade along the lower lash line, from the outer corner about halfway in. This ties the upper and lower eye together and makes the look feel finished. Smudge it gently so there is no hard line. Skip it if your eyes water easily.
A Simple Neutral Look
A neutral look uses three shades and takes about five minutes once you know the steps. It suits every day, from work to a weekend lunch, and it works on every eye colour.
Start with the base shade all over the lid. Add the transition shade, a warm medium brown, into the crease with windscreen wiper motions. Press a slightly deeper warm brown onto the lid with a shader brush. Blend the edges with a clean brush until the shades melt into each other. Add a touch of highlight to the inner corner, and finish with a light sweep of the transition shade along the lower lash line.
Neutral does not mean boring. Use a lighter hand for daytime and add more of the darkest shade at the outer corner for evening. The technique stays the same, and that is why a neutral look is the best place to learn. Once it feels easy, try a smoky look, which uses the same steps with darker shades.
Eyeshadow for Hooded Eyes
Hooded eyes have a fold of skin that covers part of the eyelid when the eyes are open. This is common, and it changes where the colour should go, not whether eyeshadow works. The trick is to place the transition shade higher than you think, so it shows when your eyes are open.
Look straight into a mirror with your eyes open and relaxed. Place the transition shade just above the crease, on the skin that shows when your eyes are open, and blend upward and outward rather than down onto the lid. Keep the lid colour light and bright, since a dark lid colour disappears under the fold. Use a matte transition shade rather than shimmer in the crease, since shimmer draws attention to the fold.
For the outer corner, keep the darkest shade small and close to the lash line, and blend it outward and slightly upward, which lifts the eye. Avoid a heavy line along the lower lashes, since it can make hooded eyes look smaller. The same steps work for deep set eyes too: put the depth where it shows when the eyes are open.
Blending: The Skill That Makes the Difference
Blending is what turns separate patches of colour into one smooth look. It is a simple skill, but it takes practice, and every beginner struggles with it at first. The good news is that it is easy to learn once you know what to aim for.
Use a clean brush for blending. A brush with product on it adds colour where you do not want it, so keep one brush clean and use it only for softening edges. Use small circular motions or short back and forth sweeps, and keep the brush moving lightly over the skin. Pressing hard pushes colour around instead of blending it.
Blend in layers. Apply a little colour, blend it, then add a little more and blend again. Rushing the blend is the most common beginner mistake, and it is the reason looks end up patchy. If an edge looks harsh, do not add more product. Blend it with a clean brush and the edge will soften. If two shades look muddy where they meet, wipe the brush clean, add a little of the lighter shade, and blend gently again.
Clean your brushes regularly, since dirty brushes blend badly. A blending brush clogged with old colour will drag and leave streaks. Wash your brushes every couple of weeks, and wipe the blending brush on a clean cloth between uses.
Choosing Your First Palette in the UK
Your first palette should be small, neutral and matte. A palette of four to nine shades is easier to learn with than a large one, since every shade has a clear job. Look for a mix of light, medium and dark mattes, plus one shimmer for the lid. A palette where the shades work together saves you from guessing which colours match.
High street chemists and supermarkets in the UK sell small neutral palettes that cover everything in this guide. Check the shades in daylight before you buy, and test the texture on the back of your hand. A good matte shade feels soft and smooth and blends without a hard edge. Avoid palettes where the shades feel chalky or look patchy on the skin.
At the mid range tier, specialist beauty counters sell palettes with denser pigment and smoother blending. This is worth it once you know which shades you use every day. At the premium tier, you pay for packaging and a brand name as much as for the product. For a beginner, the sensible path is a small high street palette first, then one better palette once you know your favourite shades.
Check the finish of each shade before you buy. Matte shades are flat and blend easily. Shimmer shades have a soft shine and suit the lid. Satin shades sit between the two and work well as a transition colour. A palette with mostly mattes and one or two shimmers is the most useful first purchase.
Mistakes to Avoid
Most beginner eyeshadow mistakes come from using too much product too fast. Each one below is easy to fix once you know it.
- Skipping primer: shadow creases and fades by midday. Prime the lid first, every time.
- Using too much product at once: heavy colour is hard to blend and harder to fix. Build in thin layers.
- Blending with a dirty brush: old colour muddies new shades. Keep one brush clean for blending.
- Placing the crease shade too low: on hooded eyes it disappears. Place it where it shows with eyes open.
- Ignoring the lower lash line: a finished look ties the top and bottom together with a light sweep of colour.
- Matching shadow to your outfit: it usually looks dated. Match it to your eye colour and skin tone instead.
- Buying a huge palette first: twenty shades you never use teach you less than four shades you use every day.
Expert Insight
The most useful insight for beginners is that eyeshadow is a layering skill, not a colour skill. A soft look comes from thin layers, a clean brush and time spent blending, not from owning many shades. Learn one neutral look well, then change one thing at a time: a deeper outer corner, a shimmer lid, a new shade in the crease.
Frequently Asked Questions
How long does it take to apply eyeshadow as a beginner? About ten minutes at first, and about five once you know the steps. Blending takes the longest, and it gets faster with practice. Do your eyeshadow before foundation, so any fallout can be wiped away cleanly.
What is the easiest eyeshadow look for beginners? A neutral look with three matte shades: a light base all over the lid, a warm brown in the crease, and a slightly deeper brown on the lid, blended until no edge shows. It suits every eye colour and every day, and it teaches the two skills that matter most: layering and blending.
Can I apply eyeshadow with my fingers? Yes, for shimmer shades on the lid, where the warmth of the skin helps the colour stick and look brighter. For matte shades and blending, a brush works better, since fingers leave uneven patches and cannot soften edges. Use fingers for the lid and a brush for everything else.